Summer Art Camp Project 2 - Foil Relief
- KaleidoKids Art Studio
- Jun 15, 2017
- 1 min read
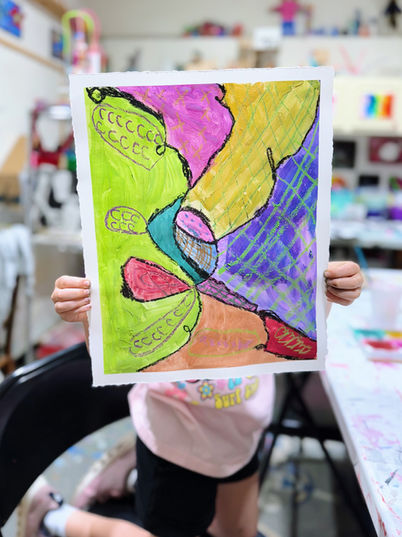
Our second day of Art Camp was definitely one full of excitement. This foil relief project is always a favorite among my students as well as visitors to the KaleidoKids Art studio! It is so eye-catching because of the beautiful shine AND the amazing texture.


The first step in the project is to have a piece of cardboard or mat board. You want the artist to create a design (I always tell my students that it can be an object, an animal, or even just a cool pattern) on their mat board with a pencil or marker. Remind them that mistakes at this stage are OKAY, especially since they will be covered and will not be seen at all with this project!
Next, using Tacky Glue (because it is so sticky and easy for kids to use), go over your pencil/marker lines and cover the line with YARN!
Once you have your whole drawing "outlined" with yarn, you're ready for the tin foil. I like to spray a light layer of spray glue before we add the tin foil. Carefully add the tin foil on top and smooth with your finger tips. Be VERY careful to not use your fingernails or anything sharp because your tin foil can rip!
After your tin foil is nice and smooth and you can see your design coming through, its time to add color! Use Sharpies to add an awesomely bright look to your artwork.


Can you believe these projects?! I have some of the coolest Art Campers.


Comments